Chief among entry-level vapes sits the versatile, user-friendly push-button vape pen. Elegant yet practical designs combined with ease of use make these compact, portable pens ideal for beginners embarking on their vaping journey. This guide will walk through the anatomy and operation of standard push-button vape pens to ensure you get the most gratifying experience from your inaugural vaporizer.
What Is a Push Button Vape Pen?
A push-button vape pen refers to a type of vaporizer device that uses a single button as the control to activate the heating and vapor production. When the user presses the button while inhaling, it instantly turns on the battery-powered atomizer coil to heat up and vaporize the liquid.
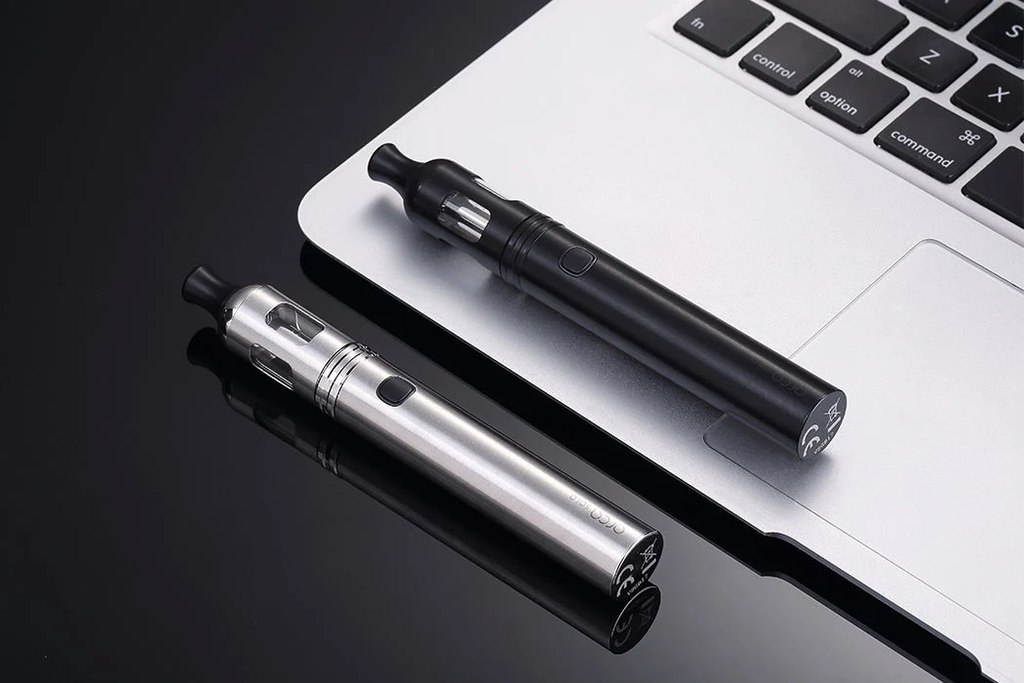
Sleek and slim, the push-button vape pen consists of a few key components working in harmony:
·Mouthpiece: The mouthpiece, also called the drip tip, serves as the exit point for vapor drawn into the lungs. Metal and glass versions stay cool while various styles suit individual preferences.
·Tank/Cartridge: Tanks and cartridges hold e-liquid or concentrates, slowly releasing it to be vaporized. While tanks allow you to choose your own e-juice, cartridges come prefilled by particular brands.
·Atomizer Coil: Hidden under tanks, small atomizer coils heat up when activated, turning liquid into vapor using metal wires and wicks.
·Base/Battery: Batteries power atomizer coils providing days or weeks of use between charges. Standard micro-USB ports allow recharging just about anywhere.
·Button: Signature feature namesake, the button activates heating coils to produce vapor on-demand instead of automatic pull-based releases with airflow sensing.
As you inhale, sensors trigger the instant heating of coil wires which vaporize liquid from the wick. Airflow pulls this vapor up the mouthpiece for direct inhalation. Simple yet ingenious!

What to Do Before First Use of Push Button Vape Pen
Like your phone or laptop, vape pens need some configuration out of the box before enjoying your first satisfying cloud. Follow these steps and you’ll prevent rookie mistakes:
1. Fully Charge Battery
While some starter kit pens include partially charged batteries for immediate demonstration purposes, dry firing without ample power poses problems. Begin by plugging your vape pen into a USB port using the included cable and charging to 100%. Most pens take 1-2 hours max.
2. Install Coil and Prime
Open your tank or cartridge bay by twisting or popping it out to reveal the chamber holding your atomizer coil and threading. Twist the pre-installed coil into place creating a tight seal, then drip e-liquid directly onto the exposed cotton wicking for 10-20 drops which fully saturates it for optimal performance.
3. Fill the Tank or Install the Cartridge
If using an e-liquid tank, open the cap and fill leaving a bit of airspace before recapping. For push-in cartridges, simply insert until it clicks providing a snug fit. You’re ready to power on!

What to Do After Turning on Your Push Button Vape Pen
Powering up your push-button vape pen is simple. Follow these clear steps:
1. Locate Power Button
The power button is typically found toward the base of the pen, right under where you insert your cartridge or tank. It may have a symbol like a lightning bolt or power icon.
2. Rapidly Click Button 5 Times
To turn on your vape pen, quickly press the power button five times in rapid succession. The clicks should happen within 2-3 seconds. You may see indicator lights near the button flash a few times to confirm it has switched on.
3. Check the Automatic Shut off Feature
Many vape pens will automatically turn off after 5-15 minutes if left idle and untouched. This preserves battery charge and prevents overheating when the pen is not in use. Refer to your device's manual for the specific shut-off time.
4. Reactivate with 5 Clicks If off
If your pen has powered off from inactivity, get it going again with another quick succession of five clicks on the button within 2-3 seconds. The lights will indicate it's back on.
Following those easy steps will have your push button vape pen up and powered on, ready for vaping! With a little practice, turning it on and off requires minimal thought before and after your vaping sessions. It will become a habit!
How to Use Your Push Button Vape Pen
Once your battery is fully charged and e-liquid is primed and filled, using your new vape pen is enjoyable and hassle-free when you follow these simple steps:
1. Gently Purse Lips Around Mouthpiece
Lightly place your lips to form a partial seal around the mouthpiece. This stabilizes the pen and ensures you draw concentrated vapor rather than dissipating clouds.
2. Inhale Slowly at First
Start inhaling steadily over 2-3 seconds rather than abruptly. This allows time for button activation and heating. Draw breath slowly and calmly.
3. Press & Hold the Power Button Mid-Inhale
About halfway through your breath, press down the power button which activates the atomizer coil. Continue holding the button for 1-2 seconds.
4. Accelerate Inhale As Vapor Generates
Vapor production begins instantly on a button press, so be sure you're already inhaling. Speed up and strengthen your inhale to capture thick, satisfying clouds.
5. Release Button, Finish Inhale
After 1-2 seconds of activation, let go of the power button BUT keep inhaling steadily for another 2-3 seconds to fully capture lingering vapors.
6. Pause, Exhale, Repeat
Remove pen from mouth, pause briefly, then open mouth and exhale forcefully to expel clouds. Repeat at your pace.
With some practice adjusting to the rhythm of synchronized inhaling and timed button presses, the process becomes second nature very quickly. Just be sure to refill e-liquid routinely!

How to Care for Your Vape Pen
Investing in just a few moments of care ensures your vape pen provides reliable service for the long run instead of the trash can after a month!
1. Battery Basics
·Never overcharge devices by continuing current flow after cells reach 100%.
·Use only approved chargers from reputable manufacturers, preferably USB for moderated input.
·Allow resting before requiring max output after charging completes.
2. General Maintenance
·Q-Tips soaked in isopropyl alcohol clean stuck residue in difficult-to-reach crevices.
·Gently brush exterior threads and connections to sustain conductivity.
·When not in use for extended durations, engage lock modes or remove batteries.
·Break in new coils with lower temp / voltage settings for the first 1-2 tank fills allowing wick saturation.
·Sweet ejuice gunks faster requiring more dry burns and new cotton installs. Check for declining performance after 100-300 puffs.
·Replace drained cartridges rather than risking dry hits which deliver awful flavor and waste juice.
While vaping skips the vast majority of dangers posed by traditional smoking, respecting equipment and refraining from nicotine abuse remains prudent.
·Allow cells to drain rather than topping up repeatedly to mitigate eventual swelling - replacing them once annually provides assurance.
·If using nicotine e-liquids, taper rather than rapidly elevate concentrations and intake to avoid unpleasant side effects.
Minor issues may pop up when getting accustomed to using your new vape pen. Try these troubleshooting tips before panic sets in:
This guide cuts through the haze with simple step-by-step to use your push button pen proficiently. Now inhale flavorful clouds minus the hassle, save money over smoking, and breathe easier immediately. Your personalized vaping liberation awaits - follow these basics then pay it forward so friends can ditch cigarettes too! One less smoker makes all our futures brighter.